- Openldap Tutorial – Practical Realtime Implementation and Integration
- Installation and configuration of openldap in Ubuntu
- Installing phpLDAPadmin – Web based LDAP Client
- Planning of LDAP DIT Structure and Config of Overlays ( access, ppolicy )
- OpenLDAP – Graylog LDAP Integration
- openLDAP – Linux Client LDAP Integration
- openLDAP – Basic Authentication using LDAP
- openLDAP – Self Service Password and Adhoc LDAP utilities
phpLDAPadmin
phpldapadmin is a web based LDAP client. It provides easy, anywhere-accessible, multi-language administration for your LDAP server. Since it is a web application, this LDAP browser works on many platforms, making your LDAP server easily manageable from any location.
Although it is very possible to administer LDAP through the command line, most users will find it easier to use a web interface. In this article we’re going to install phpLDAP admin, a PHP application which provides this functionality.
Installing the prerequisites
We need to have few components installed in order for phpLDAP admin to work the right way.
First let’s install apache2
apt-get install apache2
Next, install php
apt-get install php libapache2-mod-php
Installing and configuring phpLDAP admin
The phpLDAP admin package is available in the default ubuntu repository
apt-get install phpldapadmin
The above command will install phpldapadmin, enable necessary apache modules and reload it. Next we need to configure phpLDAPadmin to use our domain, and to not autofill the LDAP login information. For this we need to make changes in /etc/phpldapadmin/config.php file
vi /etc/phpldapadmin/config.php
Make the following changes highlighted in blue
$servers->setValue('server','name','LDAP');
This line is a display name for your LDAP server, which the web interface uses for headers and messages about the server.
$servers->setValue('server','base', array('dc=devopsideas,dc=com'));
This config tells phpLDAP admin what the root of the LDAP hierarchy is. This is based on the value we typed in when reconfiguring the slapd package. In this example we have selected dc=devopsideas,dc=com. Make changes in your environment appropriately
#$servers->setValue('login','bind_id','cn=admin,dc=devopsideas,dc=com');
This option pre-populates the admin login details in the web interface. This is information we shouldn’t share if our phpLDAP admin page is publicly accessible.
$servers->setValue('server','tls',true);
Enabling this to indicate that we need to use TLS based on our setting in the previous article.
$servers->setValue('server','host','ldap.devopsideas.com');
We need to change the host value from 127.0.0.1 to the corresponding host name what we gave while creating the certificate. Else we will be getting TLS error
$config->custom->appearance['hide_template_warning'] = true;
This option disables the unnecessary warning messages.
Enable SSL in apache
Its necessary to encrypt communication between your browser and the server where phpLDAP admin is hosted. This is a must if this is accessible publicly. If it is public, make sure you use a CA certified SSL certificate. But for this example, we will be using a self signed certificate.
openssl req -x509 -nodes -days 365 -newkey rsa:2048 -keyout \
/etc/ssl/private/devopsideas.key -out /etc/ssl/certs/devopsideas.crt
This will create a certificate that is valid for a year. We will be using this to configure SSL in apache.
First let’s disable the default apache site
a2dissite 000-default.conf
Now that the default site is disabled, we will create two virtual host configuration file. Once to redirect http to https and one for the actual configuration to handle requests
vi /etc/apache2/sites-available/ldap.conf
Copy the below content to the file
<VirtualHost *:80>
ServerName <Host Name>
RewriteEngine On
RewriteCond %{HTTPS} off
RewriteRule ^/?(.*) https://%{SERVER_NAME}/$1 [R,L]
</VirtualHost>
Replace <Host Name> with your server hostname.
vi /etc/apache2/sites-available/ldap_ssl.conf
Copy the below content to the file
<IfModule mod_ssl.c>
    <VirtualHost _default_:443>

        ServerAdmin [email protected]
        ServerName <Host Name>

        DocumentRoot /var/www/html

		ErrorLog ${APACHE_LOG_DIR}/error.log
		CustomLog ${APACHE_LOG_DIR}/access.log combined

		SSLEngine on

		SSLCertificateFile /etc/ssl/certs/devopsideas.crt
		SSLCertificateKeyFile /etc/ssl/private/devopsideas.key

		<FilesMatch "\.(cgi|shtml|phtml|php)$">
			SSLOptions +StdEnvVars
		</FilesMatch>

		<Directory /usr/lib/cgi-bin>
			SSLOptions +StdEnvVars
		</Directory>

	</VirtualHost>

</IfModule>
Enable both the sites by running the below command
a2ensite ldap.conf ldap_ssl.conf
Enable apache ssl, rewrite module and restart apache again
a2enmod ssl rewrite
systemctl restart apache2.service
Logging into phpLDAP admin console
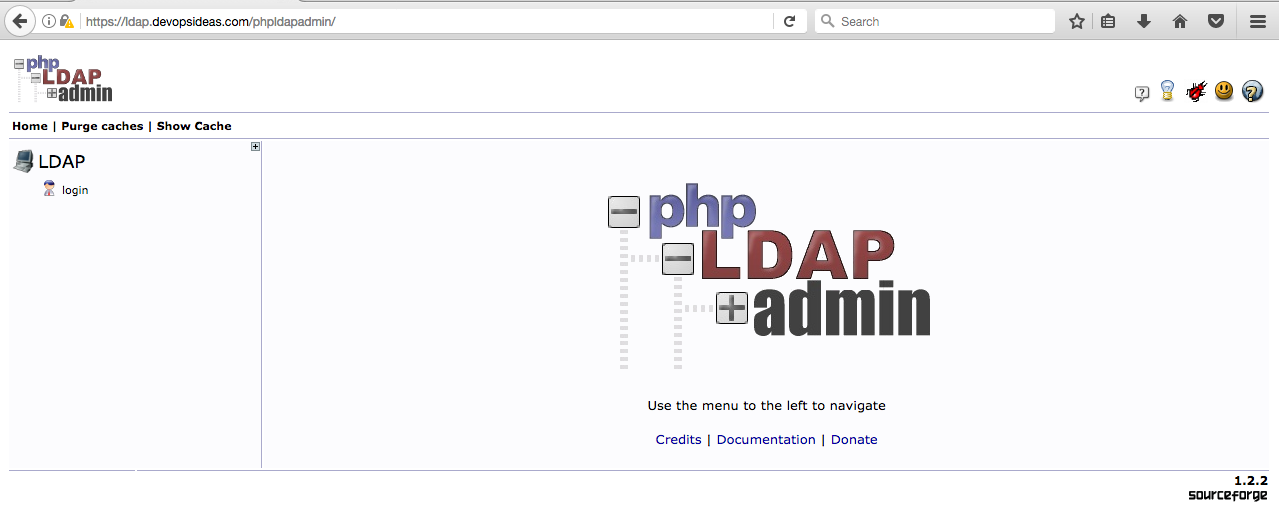
Having made the necessary configuration changes to phpLDAPadmin, we can now begin to use it. Navigate to the application in your web browser. Be sure to substitute your domain for the highlighted area below
https://<Domain Name>/phpldapadmin
You’ll get the phpLDAP admin login page. Click the Login link in the lefthand side.
In the next screen , the Login DN is the username that you will be using. In our case, we will use our admin id (cn=admin,dc=devopsideas,dc=com)
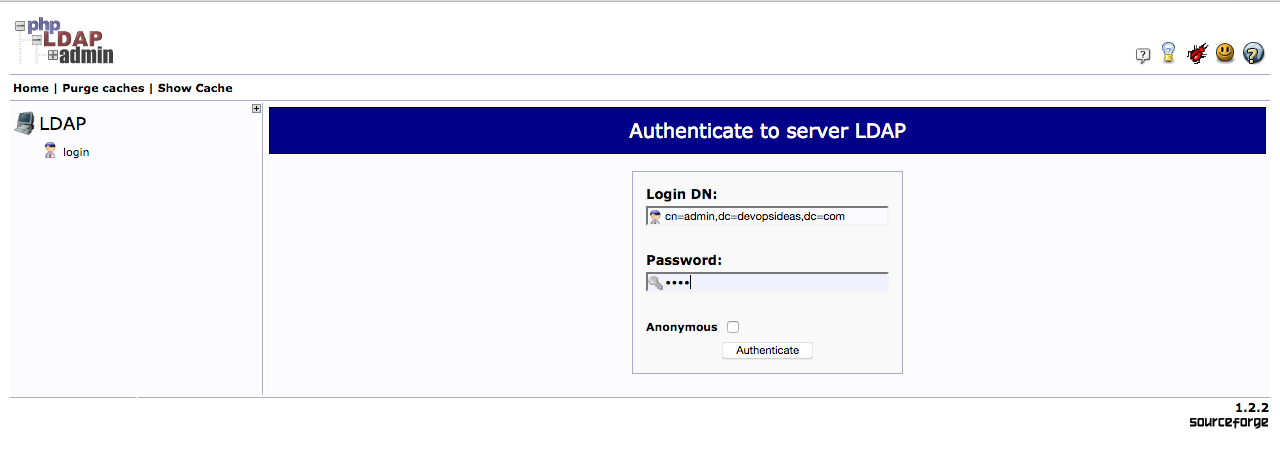
At this point, you are logged into the phpLDAPadmin interface. You have the ability to add users, organizational units, groups, and relationships. We will see this is the upcoming section

In the next section, we will do our planning for creating a DIT based on our requirement and addition of few overlays that is required for auditing and for access control.

