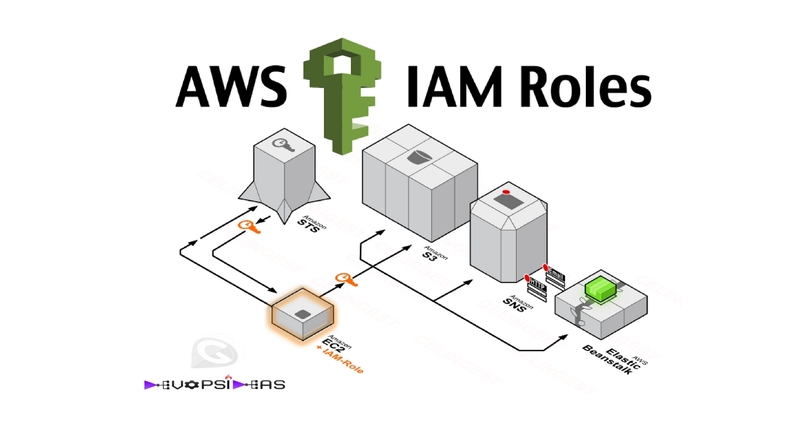
This will be a nugget on how to create and attach an IAM EC2 role while launching an EC2 instance.
What are IAM Roles ?
Using IAM we can define who can access which resource in EC2, RDS, S3 and all the other AWS services. In addition, IAM lets us define a set of temporary permissions that are not attached or do not belong to users or groups. These permissions are called Roles and can be assumed by applications or AWS services to enable programmatic access to defined resources.
Why do we need this ?
There is wide scope that we might need this if your application within the EC2 instance makes a lot of API calls with other AWS services. One good example I can think of is your application accessing S3 bucket to retrieve files or your EC2 instance requiring access to cloudwatch to send log data for customized metrics. If your EC2 instance does not assume any role, then you need to pass the API keys within your application (SDK) to access the relevant service.
This approach becomes challenging when you securely distribute credentials to each instance, especially those that AWS creates on your behalf, such as Spot instances or instances in Auto Scaling groups. Also this becomes a problem when you rotate the keys since you will need to update it in all the instance.
In order to overcome the above said problems, we can make use of EC2 Roles.
Lets quickly see the steps on how to create and attach an IAM Role while launching an EC2 instance.
Note
You can’t assign a role to an existing instance; you can only specify a role while launching a new instance.
Create a Role
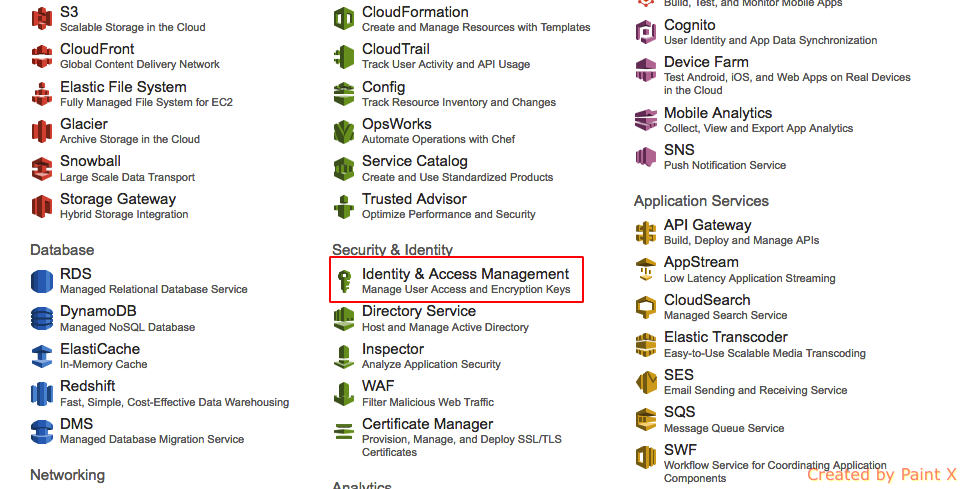
- Login to AWS console and select Identity & Access Management (IAM).
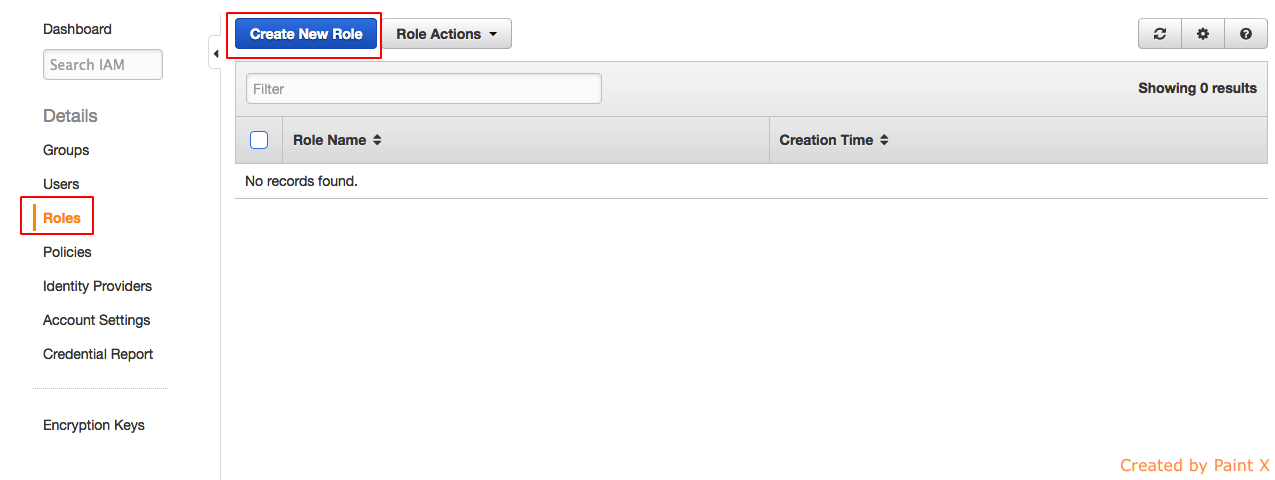
- Click on Role and select “Create Role”
- Give a name for the role and click “Next Step”. I’m naming it as devopsideas-test for this example.

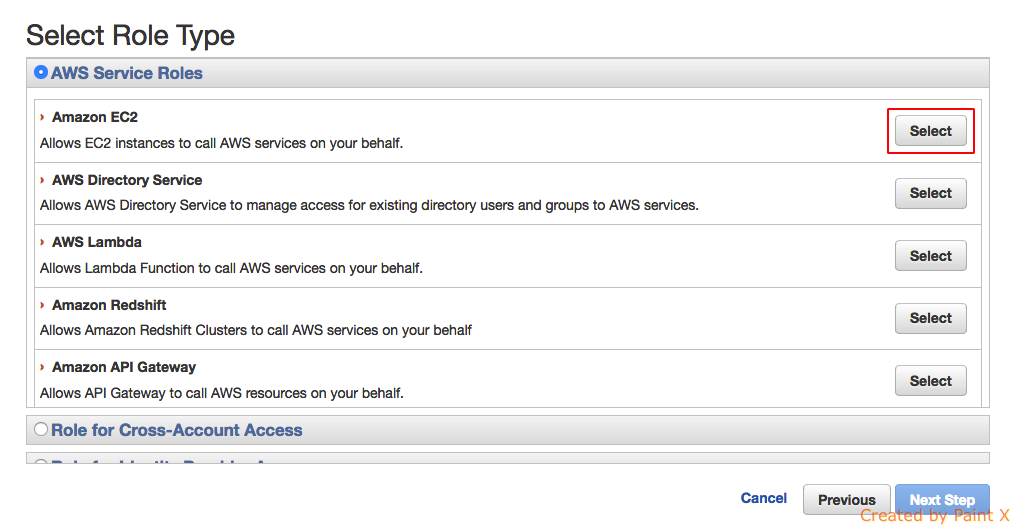
- Click on “Select” for “Amazon Ec2” option and hit Next Step
- In the next step it will prompt you to attach a policy. You can skip this step and attach a custom policy later on if you hadn’t created one. Or you can choose from the list of generic policies that are predefined. For this example, I’ll be skipping this step
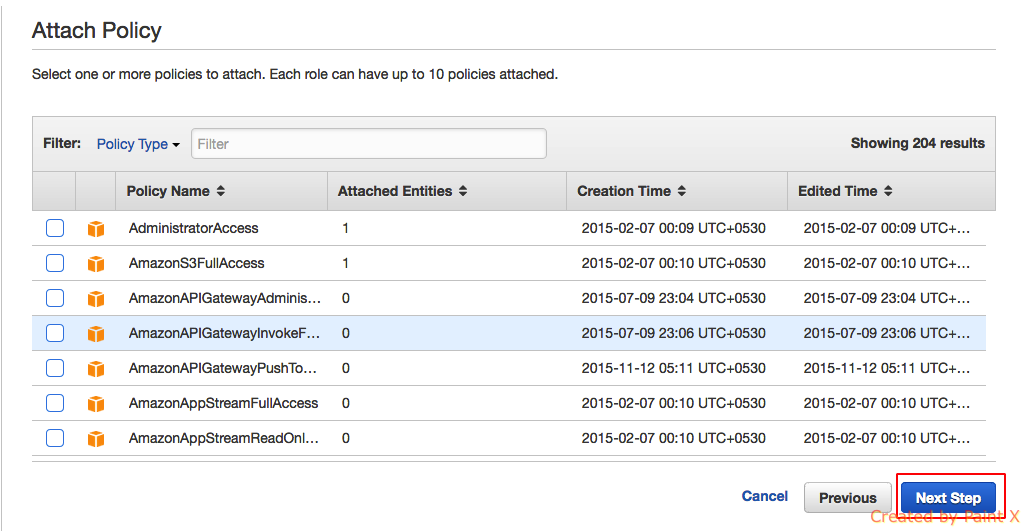
- In the next step you can review your details and if everything looks fine you can click “Create Role”
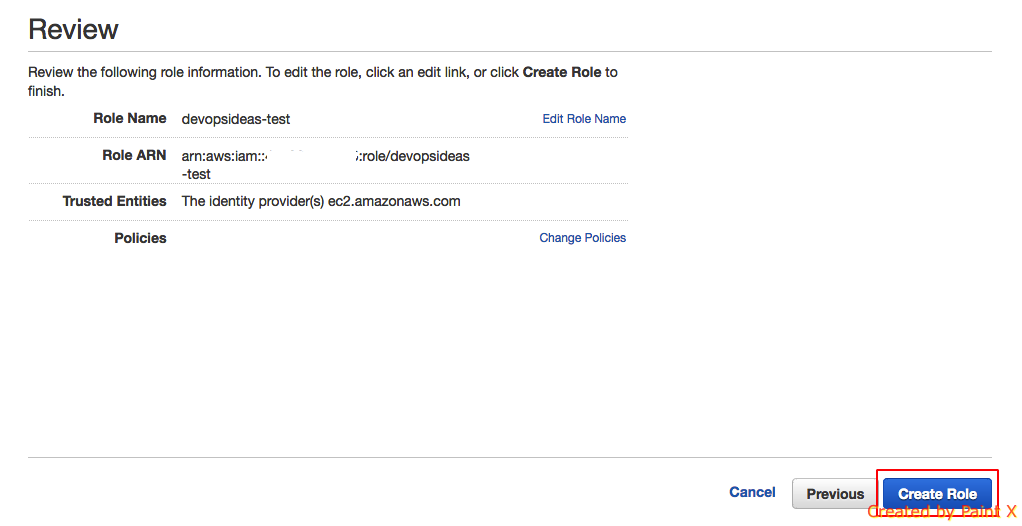
We have successfully created a role and you can view our newly created role under Roles section.
Attach the role while launching an EC2 Instance
In this step lets see, how we can attach the newly created role while launching an EC2 instance. I have skipped the first few steps of creating an EC2 instance since that is pretty straight forward.
At Step 3 of creating a new EC2 Instance, you’ll be configuring your instance details. Click the drop down next to IAM role option and you’ll see the name of the role that we created. Select the role and carry on with the usual procedure to launch an instance.
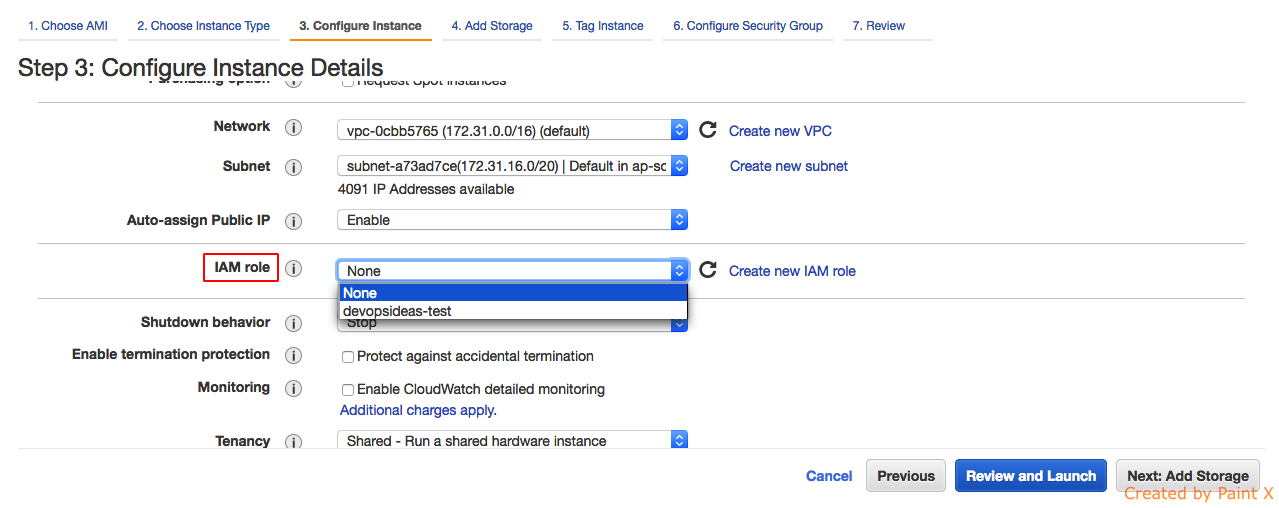
And that’s it !! We have attached an IAM EC2 Role for our new instance. We can further create our own custom policies ( like accessing a specific bucket in S3 ) and attach it to this role. Through this way, we can avoid passing API keys within our code and server.
Implementation through command line
You can follow the below steps for implementing the above using command line.
- Create the following trust policy and save it in a text file named ec2-role-trust-policy.json (This step is equivalent to step 4 – Select Role Type that we followed above)
{
  "Version": "2012-10-17",
  "Statement": [
    {
      "Effect": "Allow",
      "Principal": { "Service": "ec2.amazonaws.com"},
      "Action": "sts:AssumeRole"
    }
  ]
}
- Create the “devopsideas-test” role and specify the trust policy that we created above.
$ aws iam create-role --role-name devopsideas-test --assume-role-policy-document file://ec2-role-trust-policy.json
{
    "Role": {
        "AssumeRolePolicyDocument": {
            "Version": "2012-10-17",
            "Statement": [
                {
                    "Action": "sts:AssumeRole",
                    "Effect": "Allow",
                    "Principal": {
                        "Service": "ec2.amazonaws.com"
                    }
                }
            ]
        },
        "RoleId": "AROAIIZKPBKS2LEXAMPLE",
        "CreateDate": "2013-12-12T23:46:37.247Z",
        "RoleName": "s3access",
        "Path": "/",
        "Arn": "arn:aws:iam::123456789012:role/s3access"
    }
}
And we are done. We can further assign relevant policies to this role.
That’s it for this article. Hope it was useful.
